EXPEDITION VEHICLE
Our home on wheels
The expedition vehicle will be our little home on wheels for the next who-knows-how-long as we drive across Australia and throughout Africa.
Here’s how we have converted and equipped the rig.
![]()
STARTING AT THE START
As you may have read on the About Us page – our dream began in the very first week of us meeting in 2008. Travelling together through Peru in the back of a bumpy public bus we began to sketch our ideal expedition vehicle.
Here is that sketch:

^ The Moleskin sketch that we first drew back in 2008 when we first met, which ultimately kicked off Aussie Overlanders

^ We have paid particular homage to this note! Made by K after 6 months in a 4WD.


^ Manifestation in action: 4 years after that first sketch was drawn we pulled out the trusty old Moleskin and were shocked at the similarities.
CHOOSING OUR EXPEDITION VEHICLE
We aren’t going to bang on about the merits of Toyota vs Land Rover vs. Unimog vs. whatever. Every vehicle has it’s strengths and weaknesses.
Instead our goal has always been to find an older 4WD with an impeccable service history. Preferably driven only by a little old lady down to the shops every odd Sunday. Well, after searching for a solid 6 months we found it. Our Troopy – 22yrs old with one incredible owner, meticulously cared for and with the most thorough hand-written service history any mechanic has ever seen. We’re serious about that service history. Mechanics go into shock!

Technically speaking: a1989 HJ75RV Toyota Land Cruiser Troop Carrier with a 2H naturally aspirated engine (slow!), factory fitted mechanical front and rear diff locks, dual batteries, snorkel, Kaymar rear step, two 90L diesel tanks with 332,000kms on the clock.![]()
TOYOTA LAND CRUISER 75 SERIES TROOP CARRIER
The Troopy is perfect for what we want it for. Loads of space, an engine that will get us where we want to go and it looks good. It came down to what we thought was going to be the most practical and comfortable to drive across the World. We test drove a couple of defenders (which we both personally like the look of) but the Troopy was just more comfortable to drive.
Why buy a 1989 vehicle? There are a few reasons why we bought such an old car.
>> Easier to maintain mechanically with no real technical electrics on it
>> Proves less expensive for Carnet De Passage costs
>> More money to spend on extending the time we are on the road
GUTTING THE TROOPY
The Troopy was in immaculate condition. So, it was with sadness and great respect that we needed to gut it out to prepare for the expedition ahead. The tenacity of the Troopys old owner Bob was obvious – not one bolt came free without a grunt and a whole lot of muscle. This guy was meticulous and his service log book dates back to the very first service done in 1989. We are now onto the 53rd service. We have had two specialist mechanics go over it and they have both been highly impressed.

^ Gutted

^ For those who think a Troopy is a rough ride, try this!

^ A clean slate to work with + to create our ideal expedition vehicle
^TOYOTA Troop Carrier Conversion with Roof Top Tent via a Pop Top
![]()
OUR HOME ON WHEELS
The clean slate gave rise to a million ideas of what we could do with the Troopy. Click here to see the Overland Vehicle Design Inspiration we gathered and read on to see what we did.
INTERIOR
– DRIFTA 4WD Drawer Systems, created to our custom design and crafted for a fully functionable live-in-the-vehicle. Click here to see DRIFTA and click here to see our tour of their awesome Australian factory.
– Scheel-Mann Traveller seats with lumbar support, hand-made and imported from Germany
– New ‘fully-sik’ stereo system, USB ports fitted into centre console + below stereo
– Map light with red tint
– Curtains. Durable fabric that is velcro removable.
– Mosquito netting that velcro attaches to cover the rear of the vehicle when in stinger territory. Kirst attracts mozzies in most situations so this is a must!

.JPG")

^ We hand-made a custom centre console with two bottle holders & USB port

^ Map light and (one of three) dual USB ports inside the vehicle

^ Fixing the Scheel-Man seat runners

^ A really fiddly job for an amateur (Me)

^ Scheel-Man seats fitted

^ Interior ply wood side panels cut and lacquered

^ Side panels with access holes, to make use of all space and keep items falling below

^ Side panels installed

^ Our custom design DRIFTA 4wd fit-out


^ Our emergency bed. Or a bed for G if he’s in the dog house.

^ Slide out DRIFTA table with adjustable legs


Here’s what the photos above are showing:
– Drawer system storage on the right with laminated work space at top.
– Bench seat on the left with a pull out table, drawer and kitchen. The table can be completely removed and has legs tucked underneath. The drawer/kitchen has legs.
– The bench seat is now covered with comfy cushions and forms our ‘lounge’.
– A flip-up bed can be erected to cover the hallway. This extends the lounge into a larger bed. We already have a bed in our pop-top however this will be our emergency bed and enable us to sleep inside the vehicle with the roof down if we encounter A SITUATION. i.e. extremely bad weather or a dodgy place.
– Removable covers over the wheel arches that provide large stuffing spaces
– A large cavity at the rear of the drivers seat where we will mount electrics and stow tools.
– Under the cupboards on the right we have some open cavities to stow shoes and the inevitable dirty miscellaneous.

EXTERIOR
The exterior of the Troopy is in a great condition for 22 years old. There is some rust on the side pillars and behind the lights. This has been doused in fish oil to help prevent further build up.
– BFGoodrich Mud-Terrain T/A KM2 Tyres
– 4 X Olive MAXTRAX mounted & locked onto roof with two ally channels
– ECB Alloy Bull Bar & VRS 12,500lb Winch
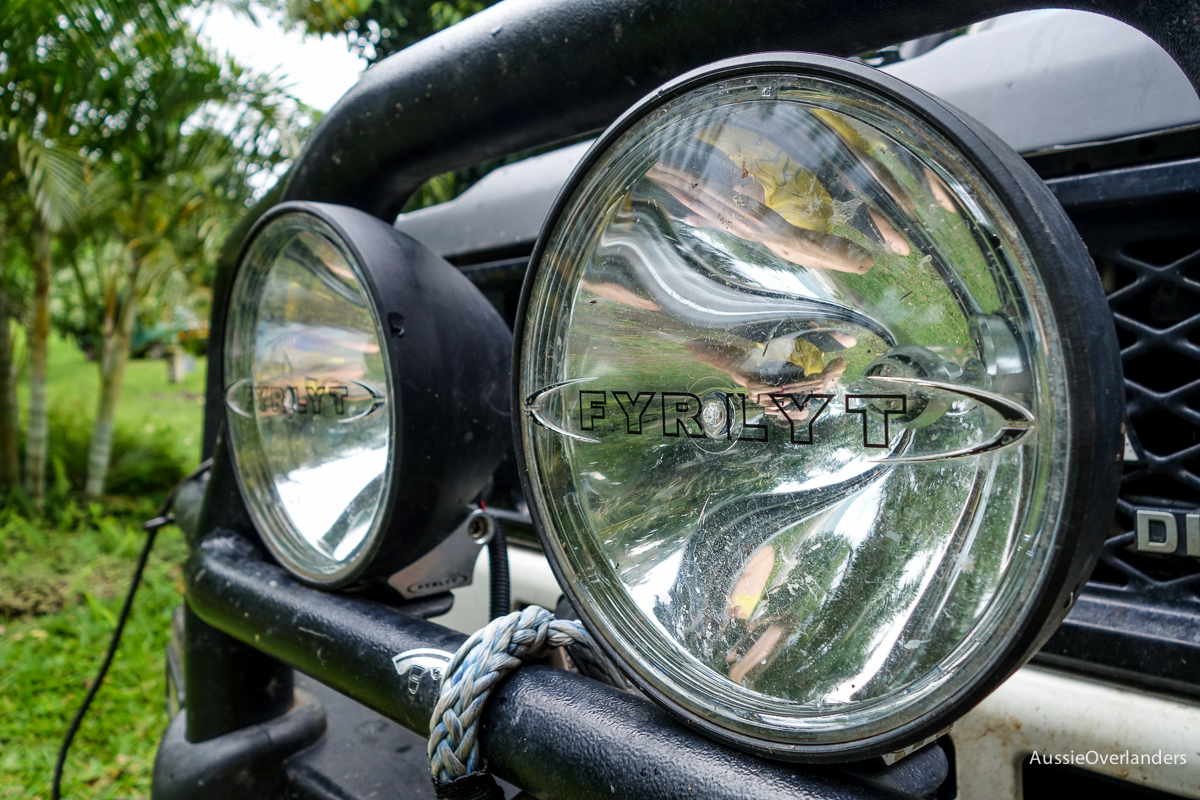
– 2 x FYRLYT Driving Lights


^ The Troopy in all its glory. Packed and ready to go.

^ Affixing aluminium channel to mount side awning.

^ Side awning mounted.
SLEEPING + LIVING
– Pop-top roof conversion by Mulgo. Click here to see us pop the top for the first time.
– 50mm high density foam mattress
– Bed extension which we made from 15mm plywood as we found the pop top bed not long enough for us

^ Daniel does his thing

^ No more roof, ensue ‘OMG what have we done’ moment

^ The Troopy with a crew cut

^ Pop-Top roof conversion complete
Daniel from Mulgo converted the Troopy into a pop-top roof.
Why did we choose a pop-top for overlanding?
1. Access: Ability to access the full interior of the vehicle
2. An indoor living space: because when you live outside for a year a little indoors time is a luxury
3. Up and Go: the ability to wake and go without leaving the vehicle in extenuating circumstances (be it people or lions!)
4. Weather proof: In the worst case weather we can baton down the hatches and sleep inside the vehicle on the DRIFTA flip-up bed
LIGHTING
All new lights installed are LED’s. Low on power draw and bright.
The list of lights installed are below:
– 1 x 500mm LED strip mounted inside at the rear of the vehicle above the bench, with interior switch
– 1 x 1000mm LED strip mounted outside on the side of the vehicle under side awning, with interior switch
– 2 x LED lights mounted inside above the bed and below the bed
– Existing internal rear cabin light converted to LED

^ This awning light is unreal. It faces down so it lights up our space perfectly but importantly it isn’t obnoxious and doesn’t effect others at a campsite.

^ Let there be light! Said the most-incredible-plumber-in-all-the-land

^ 2 x Rear telescopic work lights mounted behind spare wheel with dual switches. We have a switch inside the car at a reachable distance from our bed which can be turned on for security. i.e. if we hear something we can flick these on. Our fingers are crossed to light up an elephant or lion one day!
REAR OF VEHICLE
– Rear awning
– Custom designed rear carrier to fit Lifesaver Jerry Can, Gas Bottle, Axe and DRIFTA Fire Pit
– True Blue Outdoors premium rear wheel bag

ENGINE BAY
– RedArc BCDC 1225. Maintains charge on dual battery set-up and is also set to take charge from our RedArc Solar panel.
– Air Conditioning fitted by Auto Frost Air Conditioning
– Heat Exchanger + 12v Pump to use for the occasional shower when wanted in remote areas

^ Red Arc BCDC 1225 this was originally wired up incorrectly by an Auto Electrician with the wrong fuses. RedArc then advised us to use fuses similar to this. Cheers RedArc.

^ Heat exchanger for shower
SECURITY
– Matte black galvanised mesh on rear windows, designed + created by G!
– 20mm matte black square hollow steel section running the length of the passenger side windows
– 2 x Engine Immobilisers previously installed
– Steering wheel lock

^ Welding away creating our security

^ Matte black galvanised mesh on rear windows. Security + useful mounting points for our True Blue Outdoors canvas storage bags.

^ Matte black square hollow steel section. Security without looking like a jail.
ELECTRICS
Basically our 89′ Troopy is very simple when it comes to electrics. That’s also the way we have kept it with all our electrical accessories. One main fuse box behind the drivers seat which has power supplied from the second battery. All power to the accessories is run from here.

^ This picture shows the storage space behind the drivers seat which houses some of our electrics. Compressor at bottom left. Inverter. 12 port fuse box.
ADDITIONAL
– Cleaned and refurbished fuel injectors
– Serviced all wheel bearings by the incredibly talented Paul at Justin Cooper Automotive in Kingston, Tasmania. Pre-emptive maintenance.
– Back door gas strut replaced.
![]()
WANT TO SEE MORE TROOPY SET-UPS & FIT-OUTS?
Troopy.com.au is a fun little side project of ours. Head there for legendary Troopy Shirts & all things Troopcarrier set-ups, mods and fit-outs.
At this stage the aim of the site is to have a hub for all things Troopy and to recreate the Troopy shirt that did us so well through our expedition.
A FEW OF OUR TROOPY VIDEOS!
Pingback: Wrap Up {Edition 12} | Aussie Overlanders
Pingback: Wrap Up {Edition 12} | Aussie Overlanders
Pingback: Wrap Up {Edition 13} | Aussie Overlanders
Pingback: Wrap Up {Edition 15} | Aussie Overlanders
Pingback: WHAT WE LIKE ABOUT OUR RIG + SET UP | Aussie Overlanders